BiteFX Animations
BiteFX provides you with attractive, colorful animations that have been created to help communicate the concepts of occlusion. Patients enjoy seeing the animations and quickly understand the points you need to explain.
The snapshots below describe the animations that are provided with BiteFX.
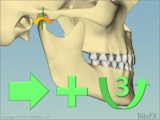
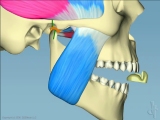
Open-Close Motions
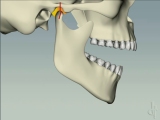
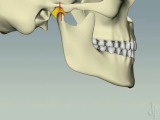
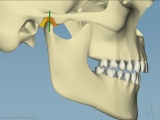
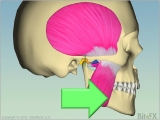
Open/close motion without muscles. Function of disc. Introduces centric relation.
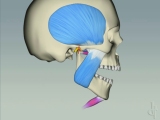
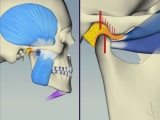
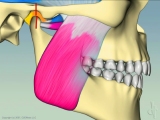
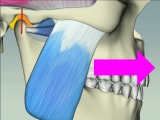
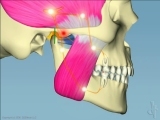
Open/close motion focusing on the opening and closing muscles.
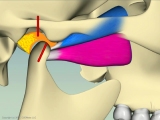
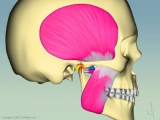
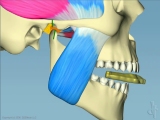
Open/close motion focusing on the lateral pterygoid muscles. How upper/lower act independently.
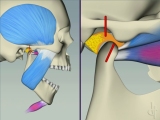
Open/close motion combining opening and closing muscles and lateral pterygoid muscles.
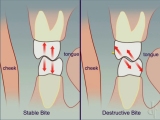
Destructive bite — what can happen when MI occurs out of CR.
Destructive bite – open/close motion illustrating a "muscle war".
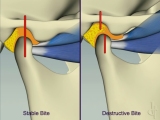
Stable/destructive side-by-side – focus on lateral pterygoids.
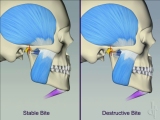
Stable/destructive side-by-side – all muscles.
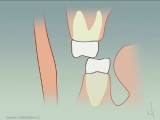
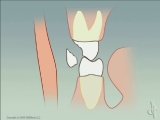
Guidance and Contacts
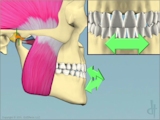
Canine guidance — how the front teeth help protect the back teeth.
Anterior guidance. Importance of shapes of teeth and jaw joint working together.
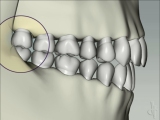
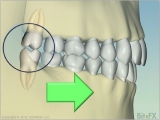
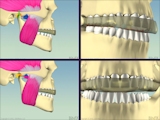
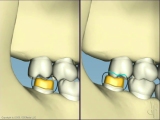
Molars with guidance – with guidance molars separate
Effects on molars – side-by-side versions with and without guidance (five separate animations).
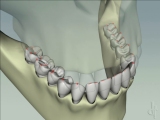
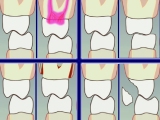
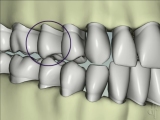
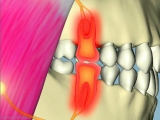
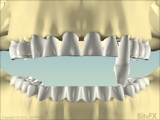
Ideal tooth contacts. Simultaneous contacts at dots in back and lines in front.
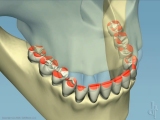
Destructive tooth contacts – how contacts can look in a destructive bite.
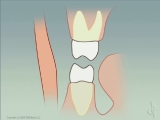
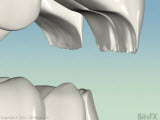
Ideal molar contacts. Peaks meeting valleys. Longitudinal forces.
Undesirable molar contacts on inclines – reasons for fractures, tooth movement and mobility.
Ideal and undesirable molar contacts side-by-side
Effects of Bruxing
Bruxing – illustrating constant motion between CR and MI.
Bruxing with muscles – dramatically communicates uncoordinated muscle function.
Bruxing – as previous but wide angle Reasons for muscle soreness or temporal headaches "obvious".
Bruxing – great tool to show why teeth are loose, sensitive, breaking or PDLs widened.
Anterior bruxing – shows anterior wear and effects of recession, mobility, abfractions.
Same as the molar bruxing animation but only grinding during the forward motion.
Same as the bruxing with muscles animation but only grinding during the forward motion.
Same as the bruxing with muscles animation but only grinding during the forward motion.
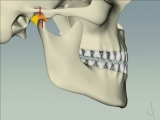
Interferences and TMJ Effects
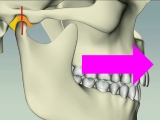
Slide without muscles – how some patients' teeth will move when they clench from CR.
Slide with muscles – how some patients' teeth will move when they clench from CR.
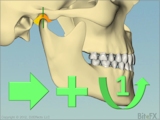
Demonstrates how the jaw moves if it rotates 1 degree when sliding from CR to MIP.
Demonstrates how the jaw moves if it rotates 3 degrees when sliding from CR to MIP.
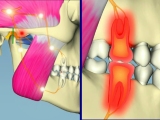
Interference effects – triggering avoiding action and leading to sensitive and painful teeth.
Interference effects – triggering avoiding action.
Interference effects – causing sensitive and painful teeth.
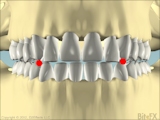
Illustration of what a balancing interference is.
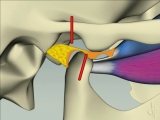
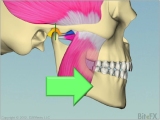
TMJ disc distortion – stages of disc deterioration: early & late clicks, lock, perforation, bone-on-bone.

TMJ disc distortion – showing distalization of the condyle into the fossa.
Illustration of fremitus developing because of edge-to-edge bruxing.
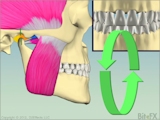
Illustration of fremitus developing because of a restricted envelope of function.
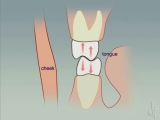
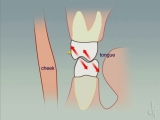
How side-to-side bruxing can wear the front teeth.
Shows how a restricted envelope of function can lead to sharp, ragged wear of the incisors.
Shows how an interference between rear teeth can lead to grinding that can eventually destroy the whole mouth.
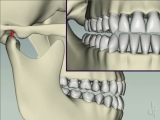
Effects on Molars
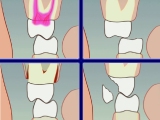
Effects on molars with no anterior guidance (a continuous sequence of four illustrations).
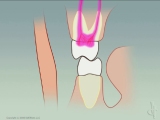
Effects on molars with no anterior guidance – nerves.
Effects on molars with no anterior guidance – grinding.
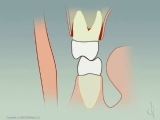
Effects on molars with no anterior guidance – recession.
Effects on molars with no anterior guidance – chipping.
Effects on molars – side-by-side versions with and without guidance (five separate animations).
Treatments
Anterior splint – how a splint helps muscles relax.
Full coverage splint – how a splint helps muscles relax.
More detailed view of the benefits provided by a properly designed full coverage splint.
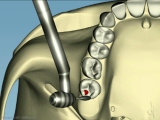
Equilibration – showing adjustment of two interferences resulting in CR bite.
Disappearing crown space – why crown space shrinks between impression and application.
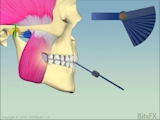
Use of a leaf gauge to establish centric relation and identify initial interferences.
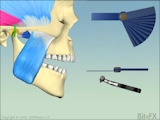
Use of a leaf gauge as part of the equilibration process.

Takes a totally destroyed dentition and shows how it can be rebuilt to healthy occlusion.
Outside USA::
(+1) 530-582-1189
(+1) 530-582-1189
What people are saying about BiteFX::
BiteFX has been an amazing addition to our consultation experience! Our patients, both new and existing, have given rave
reviews.
reviews.
— Richard Rogers, DDS
Using BiteFX was so easy.
— Mike Viale, DDS